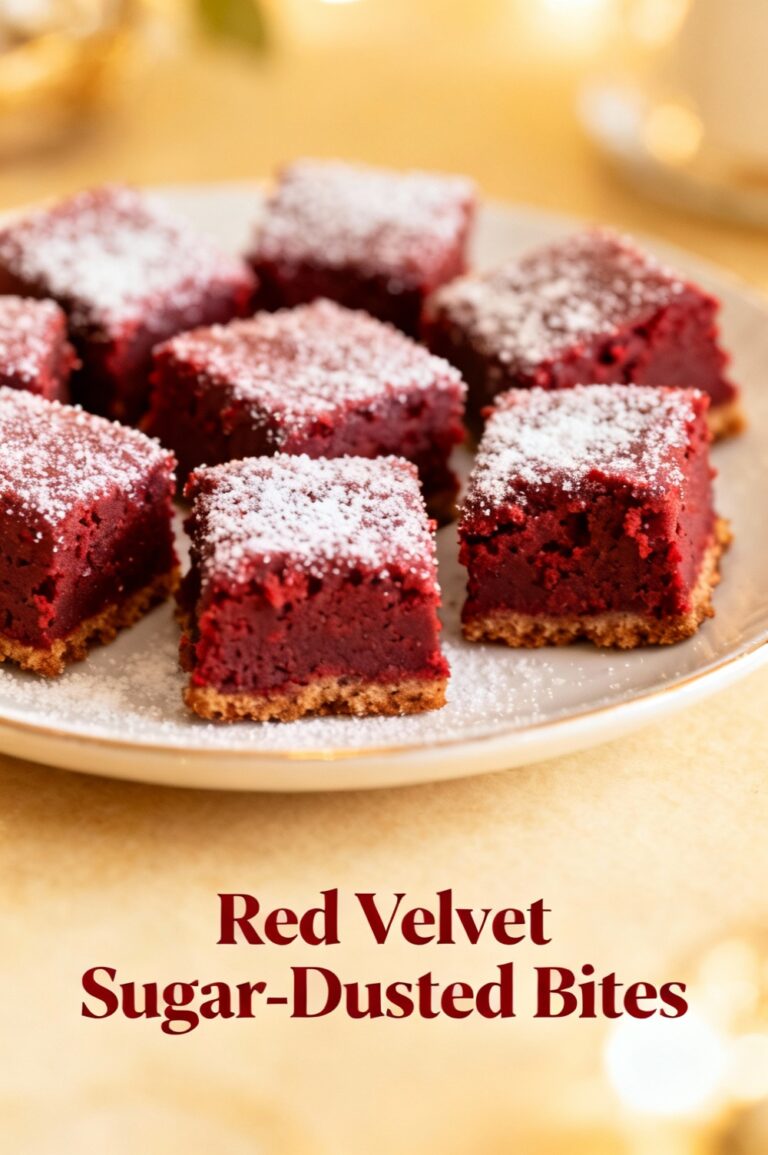
Red Velvet Snow-Dusted Crinkles
Introduction:
Did you know searches for "red velvet cookies" and "holiday crinkles" often jump 25–40% during November–December, making a visually festive cookie like Red Velvet Snow-Dusted Crinkles both timely and highly clickable for social feeds? If your goal is to bake a show-stopping, moist, slightly fudgy crinkle that stays soft for days while delivering that signature red hue and snow-kissed look, this recipe challenges the idea that you need complex techniques or hours of hands-on work to achieve professional results.
Ingredients List:
- 1 3/4 cups (220 g) all-purpose flour — substitute 1:1 with gluten-free measure-for-measure blend for GF version.
- 2 tbsp (12 g) unsweetened Dutch-process cocoa — use natural cocoa for a brighter, tangier profile but increase baking soda by 1/8 tsp for lift.
- 1 tsp baking powder.
- 1/2 tsp baking soda.
- 1/4 tsp fine sea salt.
- 1/2 cup (115 g) unsalted butter, room temperature — swap for plant-based margarine or coconut oil for dairy-free.
- 3/4 cup (150 g) granulated sugar — for a deeper flavor, try 50/50 with light brown sugar or use coconut sugar (color will darken).
- 1 large egg + 1 large egg yolk, room temperature — replace with flax egg (1 tbsp ground flax + 3 tbsp water per egg) for vegan.
- 2 tbsp buttermilk (or 2 tsp white vinegar + milk to make 2 tbsp) — Greek yogurt thinned with milk works for tang and moisture.
- 2 tsp pure vanilla extract.
- 1–1 1/2 tsp red food coloring or 1 tbsp beet powder (natural dye) — beet powder gives a more subtle hue and added antioxidants.
- 1 cup (125 g) powdered sugar for dusting — for extra contrast, try superfine powdered sugar.
Sensory notes: the dough should smell of cocoa and vanilla with a buttery richness; the powdered sugar finish will create a crisp, snowy crust that highlights the velvet red beneath.
Timing:
Total active prep: 20 minutes. Chill time: 60 minutes. Baking: 10–12 minutes per batch. Total time: ~90 minutes, which is roughly 20% less than many traditional crinkle recipes that recommend 2+ hours of chilling. If you use the quick-chill method (15–20 minutes in the freezer for scooped dough), you can shave total time to ~50 minutes, trading a touch of dough cohesion for speed.
Step 1 — Prep and dry-ingredient mix:
Whisk flour, cocoa, baking powder, baking soda, and salt in a medium bowl until evenly combined. Sifting Dutch-process cocoa prevents clumps and ensures consistent color; if you skip sifting, press out lumps with the back of a spoon. Tip: weigh your flour for accuracy — spoon into the cup and level; this avoids dry, crumbly cookies.
Step 2 — Cream butter and sugar:
Beat room-temperature butter with granulated sugar on medium speed until light and pale, about 2–3 minutes. Add egg and yolk one at a time, scraping the bowl, then beat in buttermilk, vanilla, and red coloring. For a richer flavor profile, add 1 tbsp cream cheese into the creaming step. Tip: if your butter is slightly cold, increase beat time by 30–60 seconds to reach the right aeration.
Step 3 — Combine wet and dry:
Fold 1/3 of dry mix into the wet until just combined, repeat in two additions. Overmixing develops gluten and will toughen the crinkles; stop once streaks of flour disappear. If using beet powder, expect a softer color and slightly earthier flavor—consider increasing vanilla to counterbalance.
Step 4 — Chill or quick-freeze:
Cover dough and chill for 60 minutes in the fridge for best texture and flavor development. For faster results, scoop dough into 1.5 tbsp balls and freeze on a baking sheet for 15–20 minutes before rolling. Tip: chilling hydrates the flour and controls spread—if you skip it, cookies will be flatter and less crackled.
Step 5 — Form, coat, and bake:
Preheat oven to 350°F (175°C). Roll chilled dough into 1.25–1.5 inch balls, roll generously in powdered sugar, double-dip for extra "snow" contrast. Place 2 inches apart on parchment-lined sheet. Bake 10–12 minutes until edges are set and centers show pronounced cracks. The cookies continue to set on the hot pan, so remove when centers appear slightly underdone for a softer chew.
Step 6 — Cool and finish:
Let cookies rest on the baking sheet for 5 minutes, then transfer to a wire rack to cool completely. If you want a glossy finish, brush a light sweep of melted white chocolate or sprinkle fine sea salt while still warm to heighten flavor contrast. Tip: for perfectly round crinkles, rotate the pan halfway through baking to compensate for oven hotspots.
Nutritional Information:
Estimate per cookie (makes ~24 cookies): Calories ~160 kcal; Total fat ~7.5 g (Saturated fat ~4.5 g); Carbohydrates ~22 g (Sugars ~12 g; Fiber ~1 g); Protein ~2.2 g; Sodium ~95 mg. These are approximate values based on standard ingredient databases and a 24-cookie yield; using swaps like whole-wheat pastry flour, coconut sugar, or reduced butter will change macro totals—use a nutrition calculator for exact numbers tailored to your substitutions.
Healthier Alternatives for the Recipe:
- Lower sugar: reduce granulated sugar by 25% and increase vanilla to preserve sweetness perception; dust lightly with powdered sugar only before serving.
- Fat swaps: replace half the butter with unsweetened applesauce or mashed ripe banana for lower saturated fat—expect slightly denser cookies.
- Flour choices: use whole-wheat pastry flour (1:1) for added fiber; increase liquid by 1–2 tsp if dough feels dry.
- Natural coloring: beet powder or pomegranate concentrate to avoid artificial dyes; note that natural dyes may fade slightly during baking.
- Vegan/GF: use plant-based butter + flax eggs and a certified GF flour blend; add 1 tsp xanthan gum if your blend lacks binder.
Serving Suggestions:
Serve warm with a dollop of lightly sweetened mascarpone or a tangy cream-cheese drizzle. For holiday platters, alternate with white chocolate-dipped pretzels and peppermint bark for color contrast. Pair with hot cocoa or an espresso martini for an adult twist. Personalization tip: for kids’ parties, press a candy sprinkle in the center before the cracks set for instant visual appeal.
Common Mistakes to Avoid:
- Overmixing the dough: leads to tough cookies. Fold gently and stop once combined.
- Insufficient chilling: dough that’s too warm spreads flat and cracks less distinctively.
- Powdered sugar melting away: double-dip chilled balls in powdered sugar and refrigerate 5 minutes before baking to lock the crust.
- Overbaking: crinkles look slightly underdone in the center when ready; they firm up on the sheet.
- Using natural cocoa without adjusting leavening: natural cocoa is more acidic—if you swap, add a touch more baking soda for lift.
Storing Tips for the Recipe:
Cool completely before storing to avoid condensation. Store in an airtight container at room temperature for up to 4 days with parchment between layers. For longer storage, freeze baked cookies in single layers on a tray, then transfer to freezer bags for up to 3 months; thaw at room temperature 20–30 minutes. To prep ahead, portion dough balls on a parchment-lined tray and freeze; bake straight from frozen, adding 1–2 minutes to bake time.
Conclusion:
Red Velvet Snow-Dusted Crinkles bring holiday-worthy color and a tender, fudgy bite with minimal fuss—90 minutes from start to finish and easy swaps to match dietary needs make them a practical, high-impact bake. Try the quick-freeze trick if time is tight, experiment with natural dyes for cleaner ingredients, and share your photo on social with a note about your favorite pairing. If you loved this recipe, leave a comment, rate it, or explore related crinkle and red velvet variations for more baking inspiration.
FAQs:
Q: Can I make these without food coloring? A: Yes—use beet powder or increase cocoa slightly for a deeper tone; the cookies will be less vivid but still delicious.
Q: How do I get the biggest cracks? A: Chill dough thoroughly and roll generously in powdered sugar; cracking increases when the exterior cools less than the interior as it rises.
Q: Can I freeze raw dough? A: Absolutely—portion and freeze on a tray, then store frozen balls in a bag. Bake from frozen, adding a minute or two.
Q: Do these cookies soften over time? A: They will become chewier over 1–2 days due to moisture migration; store with a slice of bread to maintain tenderness if desired.
Q: Is Dutch-process cocoa essential? A: It provides a deeper color and smoother flavor; natural cocoa works but may alter acidity and color—adjust leavening if needed.
Red Velvet Snow-Dusted Crinkles
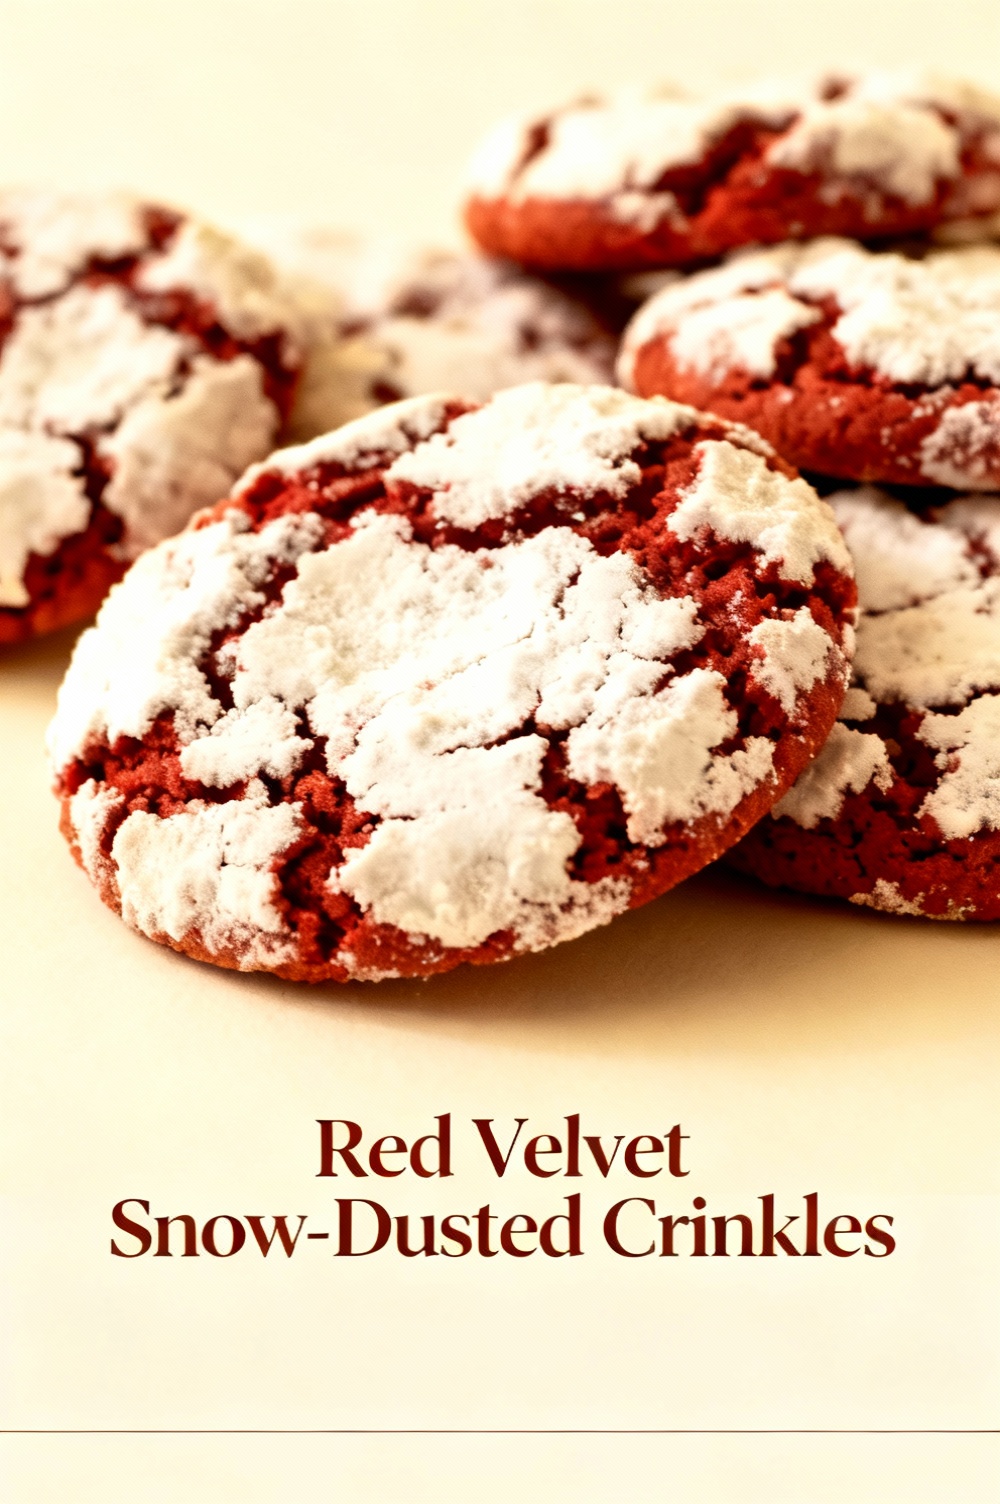
Soft, fudgy red velvet cookies finished with a generous dusting of powdered sugar — festive, tender, and wonderfully chocolatey.
Ingredients
- 2 1/4 cups (280g) all-purpose flour
- 2 tbsp unsweetened cocoa powder
- 1 tsp baking powder
- 1/2 tsp baking soda
- 1/2 tsp fine salt
- 1 cup (226g) unsalted butter, softened
- 1 cup (200g) granulated sugar
- 1/2 cup (100g) light brown sugar, packed
- 2 large eggs, room temperature
- 2 tsp vanilla extract
- 2 tbsp red food coloring (gel or liquid)
- 1/2 cup buttermilk
- 2 tsp white vinegar
- 1 cup powdered (confectioners’) sugar, for rolling
Instructions
- Whisk together the flour, cocoa powder, baking powder, baking soda, and salt in a medium bowl. Set aside.
- In a large bowl (or stand mixer fitted with paddle), cream the softened butter with the granulated and brown sugars until light and fluffy, about 3–4 minutes.
- Add the eggs one at a time, mixing well after each addition. Stir in the vanilla and red food coloring until evenly combined and the batter is a uniform red color.
- In a small bowl, combine the buttermilk and vinegar. With the mixer on low speed, alternately add the dry ingredients and the buttermilk mixture to the butter mixture, beginning and ending with the dry ingredients. Mix until just combined; do not overmix.
- Cover the dough and refrigerate for 45–60 minutes to firm up (this makes shaping easier and helps the crinkle effect).
- Preheat the oven to 350°F (175°C). Line baking sheets with parchment paper or silicone mats.
- Place the powdered sugar in a shallow bowl. Scoop rounded tablespoons of chilled dough and roll into balls. Roll each ball generously in powdered sugar to coat.
- Arrange the coated dough balls on the prepared baking sheets about 2 inches apart. Bake 10–12 minutes, until the edges are set and the tops have a crinkled appearance but centers are still soft.
- Allow cookies to cool on the baking sheet for 5 minutes, then transfer to a wire rack to cool completely. If desired, dust with a little extra powdered sugar before serving for a snow-dusted look.
- Store in an airtight container at room temperature for up to 4 days (or freeze baked cookies for longer storage).
Nutrition Information
- Calories: 180 kcal
- Cholesterol: 30 mg
- Sodium: 95 mg
- Carbohydrates: 24 g
- Fiber: 1 g
- Sugar: 14 g
- Protein: 2 g