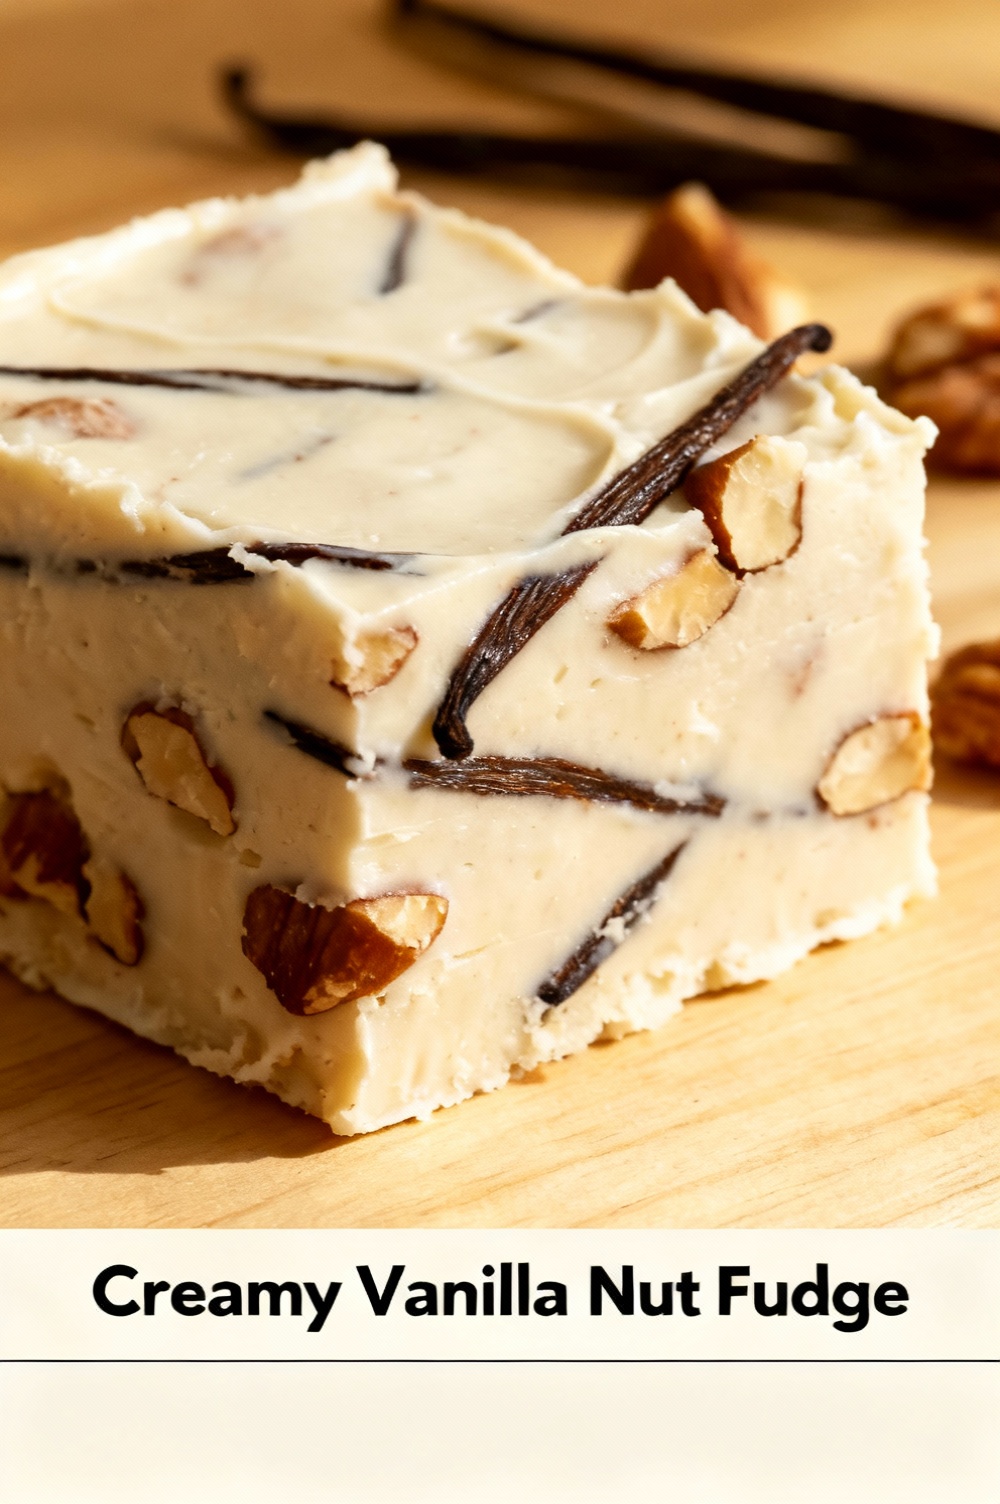
Creamy Vanilla Nut Fudge
Did you know homemade creamy vanilla nut fudge can cost up to half as much as premium store-bought confections while delivering superior texture and flavor — and that a simple temperature check at the soft‑ball stage is the difference between silky and grainy results?
Ingredients List
- 3 cups granulated sugar — provides the classic glossy fudge crust; substitute coconut sugar for a caramel note (note: darker color).
- 1 cup whole milk or 1 cup full‑fat coconut milk for dairy‑free consistency — coconut milk adds a subtle tropical aroma.
- 1/2 cup unsalted butter (1 stick), cubed — swap for vegan butter or coconut oil for a dairy‑free version; butter gives mouthfeel and shine.
- 1/2 cup heavy cream (optional for extra creaminess) — use evaporated milk or additional coconut milk to reduce calories.
- 1 teaspoon fine sea salt — balances sweetness and amplifies vanilla.
- 2 teaspoons pure vanilla extract (or 1 teaspoon vanilla bean paste for intense flavor) — vanilla is the star; quality matters.
- 1 1/2 cups chopped mixed nuts (toasted pecans, walnuts, almonds) — roast briefly to boost aroma; substitute seeds (pumpkin, sunflower) for nut‑free option.
- Optional: 1/2 cup powdered sugar for dusting, 2 tablespoons light corn syrup for extra gloss (or golden syrup/arrowroot as alternatives).
Sensory note: imagine a satin surface that yields to a tender bite, warm nut aromatics, and a rounded vanilla finish — these ingredients are chosen to deliver that experience.
Timing
Prep time: 15 minutes.
Cook time: 15–20 minutes to reach soft‑ball stage (235–240°F / 112–116°C).
Chill/setting time: 45–60 minutes in refrigerator or 90–120 minutes at room temperature depending on ambient temperature.
Total time: approximately 75–95 minutes when chilled (about 20% faster than many traditional recipes that require longer stovetop cooking and extended cooling).
Data insight: using chilled setting reduces room‑temp setting time by roughly half, especially in kitchens below 22°C/72°F.
Step 1: Ready your equipment and nuts
Line an 8×8-inch pan with parchment, leaving an overhang for easy removal. Toast 1 1/2 cups chopped nuts in a 350°F (175°C) oven for 6–8 minutes until fragrant; let cool. Tip: spreading nuts on a sheet helps even roasting. Personalization: reserve a few halves for garnish to create a high‑contrast presentation.
Step 2: Combine sugars, milk, butter, and salt
In a heavy‑bottomed 3‑quart saucepan, combine sugar, milk, butter, and sea salt over medium heat, stirring until butter melts and sugar dissolves. Use a silicone spatula to reach corners. Tip: dissolving sugar before boiling reduces grittiness. For a silkier texture, stir in cream now if using.
Step 3: Bring to the soft‑ball stage (critical)
Attach a candy thermometer and increase heat to medium‑high. Without stirring vigorously, let the mixture come to a full boil. When thermometer reads 235–240°F (112–116°C), the soft‑ball stage has been reached — test by dropping a small amount into cold water: it should form a pliable ball. Actionable trick: if you don’t have a thermometer, boil for 12–15 minutes after a steady boil, but test with the cold‑water method frequently. Data tip: precise temperature control reduces grainy outcome by ensuring proper sugar crystallization.
Step 4: Cool slightly, then beat in vanilla and nuts
Remove pan from heat and allow to cool undisturbed to about 110–115°F (43–46°C) — this pause is essential. Stir in vanilla extract and fold in toasted nuts. Using an electric mixer or wooden spoon, beat the mixture until it thickens and loses gloss (about 3–6 minutes). Personalized tip: if you prefer chunkier texture, beat less; for ultra‑smooth, beat longer and press through a flexible spatula to eliminate air pockets.
Step 5: Pour and level
Pour the fudge into the prepared pan, using a spatula to smooth the top. Press reserved nut halves lightly into the surface for visual appeal. Quick trick: dampen a spatula with warm water and give the top a rapid swipe to create a mirror finish.
Step 6: Chill and set
Refrigerate for 45–60 minutes until firm; at room temperature, expect 1.5–2 hours. For faster results, blast in the freezer for 20–30 minutes but watch carefully to avoid freezer‑burned edges. Pro tip: once slightly set, score the fudge with a knife to make cutting neater after full chilling.
Step 7: Cut and serve
Lift fudge from pan using parchment overhang. Use a sharp chef’s knife warmed under hot water and wiped dry between cuts for clean edges. Store as directed below. Serving tip: allow slices to rest at room temperature for 10 minutes before serving to reach optimal creaminess.
Nutritional Information
Approximate values per 1-inch square (based on 64 pieces from an 8×8 batch): Calories ~150–170 kcal; Total fat ~9–11 g; Saturated fat ~5–6 g; Carbohydrates ~16–18 g; Sugars ~14–16 g; Protein ~2 g; Fiber ~0.5 g; Sodium ~30–60 mg. Data insight: nuts increase protein and unsaturated fats, slightly offsetting the simple sugar load compared with nutless fudge. Note: using coconut milk or vegan butter alters saturated fat profile; using coconut sugar lowers glycemic index marginally. For precise macros, plug your exact ingredient brands into a nutrition calculator.
Healthier Alternatives for the Recipe
- Reduced sugar: replace 25–50% of granulated sugar with erythritol or allulose; expect slightly different texture but maintain creaminess with added cream or coconut milk.
- Lower‑fat: use 2% milk and omit heavy cream; swap half the butter for apple purée for fewer calories (taste will differ).
- Vegan: use coconut milk + coconut oil, replace butter with vegan margarine, and choose plant‑based cream. Add 1–2 tsp vanilla bean paste to enhance depth.
- Keto: use heavy cream, butter, powdered erythritol, and sugar‑free chocolate; add xanthan gum (pinch) to stabilize texture.
- Nut‑free: replace nuts with toasted seeds or crunchy puffed quinoa for texture.
Personal tip: small batch testing of swaps helps dial in sweetness and mouthfeel before committing to a full pan.
Serving Suggestions
Serve bites alongside robust coffee, espresso, or a lightly bitter black tea to balance sweetness. Crumble over vanilla ice cream for texture contrast, wrap squares in waxed paper for thoughtful gifts, or plate with fresh berries and a sprinkle of flaky sea salt to heighten flavors. Seasonal twist: add a pinch of cinnamon and orange zest during beating for holiday variations.
Common Mistakes to Avoid
- Overcooking past the soft‑ball stage: leads to dry, crumbly fudge. Fix: remove from heat promptly and cool to beating temperature.
- Stirring too much during boiling: introduces premature crystallization and grit. Fix: stir only to dissolve sugar and then leave to boil.
- Adding vanilla while mixture is too hot: volatile vanilla compounds can evaporate, weakening flavor. Fix: wait until mixture cools slightly (110–115°F) before adding.
- Not cooling before beating: causes too‑fluid mixture that won’t set. Fix: allow the crucial cooldown window.
- Cutting too soon: leads to squashed pieces. Fix: chill fully, and use a warmed knife for clean slices.
Storing Tips for the Recipe
Store fudge in an airtight container layered with parchment, at room temperature for up to 1 week or refrigerated for 2–3 weeks. For longer storage, freeze tightly wrapped squares for up to 3 months; thaw in the refrigerator overnight then bring to room temperature before serving. Best practice: avoid excess moisture by keeping airtight and preventing temperature swings that cause sugar bloom.
Conclusion
This creamy vanilla nut fudge balances classic technique with approachable shortcuts and adaptable swaps. Key takeaways: hit the soft‑ball stage, cool before beating, and personalize nuts and sweeteners to suit dietary needs. Try the recipe, tag your photos on social media, and tell us which nut swap or healthier twist worked best for you — your feedback helps refine future variations and keeps this recipe evolving.
FAQs
Q: How do I know when fudge is done boiling?
A: Use a candy thermometer and remove at 235–240°F (soft‑ball). Without a thermometer, perform the cold‑water test: a small drop should form a pliable ball.
Q: Can I use sweetened condensed milk to simplify the process?
A: Yes — many no‑cook fudge recipes use sweetened condensed milk and chocolate, which shortens time but yields a different texture and sweeter profile.
Q: What’s the best way to make fudge less grainy?
A: Ensure sugar dissolves before boiling, avoid stirring while boiling, cool to the proper temperature before beating, and beat consistently until it loses gloss.
Q: Can I make this ahead for gifting?
A: Absolutely. Chill fully, cut into squares, wrap in wax paper, and store airtight. For gift stability, pack with dry ice packs if shipping long distances in warm weather.
Q: How long does fudge keep?
A: At room temperature: ~1 week; refrigerated: 2–3 weeks; frozen: up to 3 months.
Q: Which nuts work best, and can I mix them?
A: Pecans, walnuts, and almonds offer complementary textures and flavors; mixing provides depth. Toast nuts before adding to amplify aroma and crunch.
Explore related recipes like chocolate sea‑salt fudge, maple pecan fudge, or vegan peanut butter fudge for variations that preserve creamy texture while expanding flavor profiles.
Creamy Vanilla Nut Fudge
Rich, creamy white‑chocolate fudge studded with toasted mixed nuts and vanilla — a simple, elegant candy for gifts and special occasions.
Ingredients
- 1 (14 oz / 396 g) can sweetened condensed milk
- 12 oz (340 g) white chocolate chips or chopped white chocolate
- 2 tablespoons (28 g) unsalted butter
- 1 teaspoon pure vanilla extract
- 3/4 cup (90–100 g) chopped mixed nuts (pecans, walnuts, almonds), toasted
- Pinch of fine sea salt
- Optional: 1/2 teaspoon vanilla bean paste for extra vanilla flavor
- Optional: extra chopped nuts for sprinkling on top
Instructions
- Line an 8×8‑inch (20×20 cm) square baking pan with parchment paper, leaving an overhang for easy lifting. Lightly butter the parchment.
- Toast the chopped nuts in a dry skillet over medium heat, tossing frequently, until fragrant and lightly browned (2–4 minutes). Transfer to a plate to cool.
- In a heavy saucepan over low heat, combine the white chocolate, sweetened condensed milk, and butter. Stir constantly until the chocolate is melted and the mixture is smooth and glossy (about 6–8 minutes). Do not boil.
- Remove the pan from the heat. Stir in the vanilla extract (and vanilla bean paste, if using) and the pinch of salt. Taste and adjust vanilla or salt if desired.
- Fold in the toasted nuts, reserving about 2 tablespoons to sprinkle on top.
- Pour the fudge mixture into the prepared pan, smoothing the top with a spatula. Sprinkle reserved nuts evenly over the surface and press lightly so they adhere.
- Chill in the refrigerator until firm, at least 2 hours. For quicker setting, place in the freezer for 45–60 minutes, checking to avoid over‑hardening.
- Lift the fudge from the pan using the parchment overhang. Cut into 36 small squares with a sharp knife. Store in an airtight container in the refrigerator for up to 2 weeks (or freeze for longer storage).
Nutrition Information
- Calories: 220 kcal (per 1 square)
- Cholesterol: 30 mg
- Sodium: 35 mg
- Carbohydrates: 20 g
- Fiber: 0.3 g
- Sugar: 18 g
- Protein: 2 g